To create an ARC profile, open ARC after downloading the app. You will be prompted to enter your
email address, create a password, enter your country, choose a timezone, and enter your mobile phone
number.
Click the “Create Account” button after filling out this information.
You will then receive a text message with a six-digit code. When prompted, enter the six-digit
code from
your text. Click the “Sign In” button after entering your code.
You will be taken right back to the in-app login screen. Enter your email and newly-formed
password.
Then click the “Sign In” button and you are now logged in to ARC!
If, for any reason, you forget your password, click “Forgot Password” on the ARC login screen.
You will be prompted to enter your email address, and ARC will send you a text message with an
authentication code.
After entering your authentication code, you will receive a link to reset your password. Follow
the link to enter a new password.
To view your profile, simply click the profile picture located in the top right corner of ARC.
Here, you can see your organizations, view your settings, and get help if needed.
To edit your personal information, click on the pencil icon in the top right corner of your screen.
Here, you can update your personal information, upload a profile picture, or change your password if
needed.
To discover and follow organizations, click the “Search” icon located on the bottom navigation
bar. Existing organizations, events, and groups will be on display. Scroll to see what is available
or use the top search bar to discover organizations by name.
Click an organization to see its profile. In the profile, you can see all scheduled events and
learn more about each organization.
Click the “Join Organization” button for access to events and to receive notifications regarding
upcoming events.
Click the “Search” icon on the bottom navigation bar to discover events, people, and groups. The
top bar displays each of these categories individually.
Click on “Events,” “People,” or “Groups” to discover more information or use the search bar for
specific searches.
Next to the “Search” icon at the bottom of the screen is a bell that represents “My
Notifications.” Here, you will see different notifications such as alerts, events and group
invitations.
Click “Accept” or “Decline” to respond to your group invitations or to RSVP to events.
Swipe left on the notification and click “Delete” to delete the notification.
Groups
Click on the “Groups” icon located on the far right of the bottom navigation bar. From this
screen, you can view the groups you have created and the groups you have joined.
To discover new groups, click the “Search” icon on the bottom navigation bar and then click the
“Groups” section on the top bar. You can then search for new groups to join.
To create a new group, simply touch the “Plus” icon in the Groups section of the bottom navigation
bar. You will be prompted to upload a profile picture and enter information about the group.
Once your group information has been entered, click “Continue” and begin to search for users to add to
your new group. You can invite new users and can also search for new users to add to the new group
you have created.
New users can also be added here by entering their email address or phone number.
To invite new participants to a previously-existing group, click on a group in the
“Groups” section located on the bottom navigation bar. Use the “Plus” button on the bottom right of
the screen to invite new users.
If you ever need to edit the details of a group you administrate, first click on the group you
want to change.
Then click the three dots icon on the top right corner of the screen. You can now edit information
about your group.
To quickly edit, leave, or mute a group, swipe left on the group and choose from the three options
that appear.
To request to join a new group, navigate to the new group you would like to join and then click
the “Join Group” button.
The administrator of the group will be notified, and you will receive a notification once you have
been approved to join the group by the administrator.
Starting a group call is easy with ARC. You can begin a group call by clicking on a group you
administrate.
Once you have clicked on the group, you then click the “Call Group” button on the top right corner
of the screen. Clicking on this button will automatically notify all group members that a group call
has been initiated.
If you ever need to leave a group, just locate the group in your Groups section and swipe left.
Click the “Leave Group” button to remove yourself from the group.
Events
To view your events, click the “Events” icon on the left side of the bottom navigation bar.
Here, you will see all your previously-scheduled conference calls and events in one convenient
location.
To create a new event, simply touch the “Plus” button on the bottom right of the Events section
located in the bottom navigation bar. Click “Create Event” and then provide information about your
event, including: event name, description, event host, date, and time.
If your event will be a recurring event, select the “Repeat” toggle and indicate the
event date.
The “Advanced Settings” feature allows you to choose what type of event this will be and to set
the event as public or private.
Once your event information is complete, press the “Create Event” button on the bottom right of
the screen. You will be prompted to search for users to add to the event.
To add groups, search for a group name and press “Invite All.” Clicking this option will
automatically invite all group members to this event.
To cancel an invitation to an event, navigate to the Events section in the bottom navigation bar
and click on the event you wish to cancel.
In the middle of the screen, you will see an “Attending” button. Click the button and choose
“Remove Event” from the drop-down menu.
To remove an existing event from your calendar, simply locate the event in the Events section on
the bottom navigation bar and swipe left on the event. You will see the option to “Invite” more
event participants or to “Remove” the event.
Press the “Remove” button, and the event will disappear from the Events page.
To leave a current event, just click the red “End” button at the bottom of the screen.
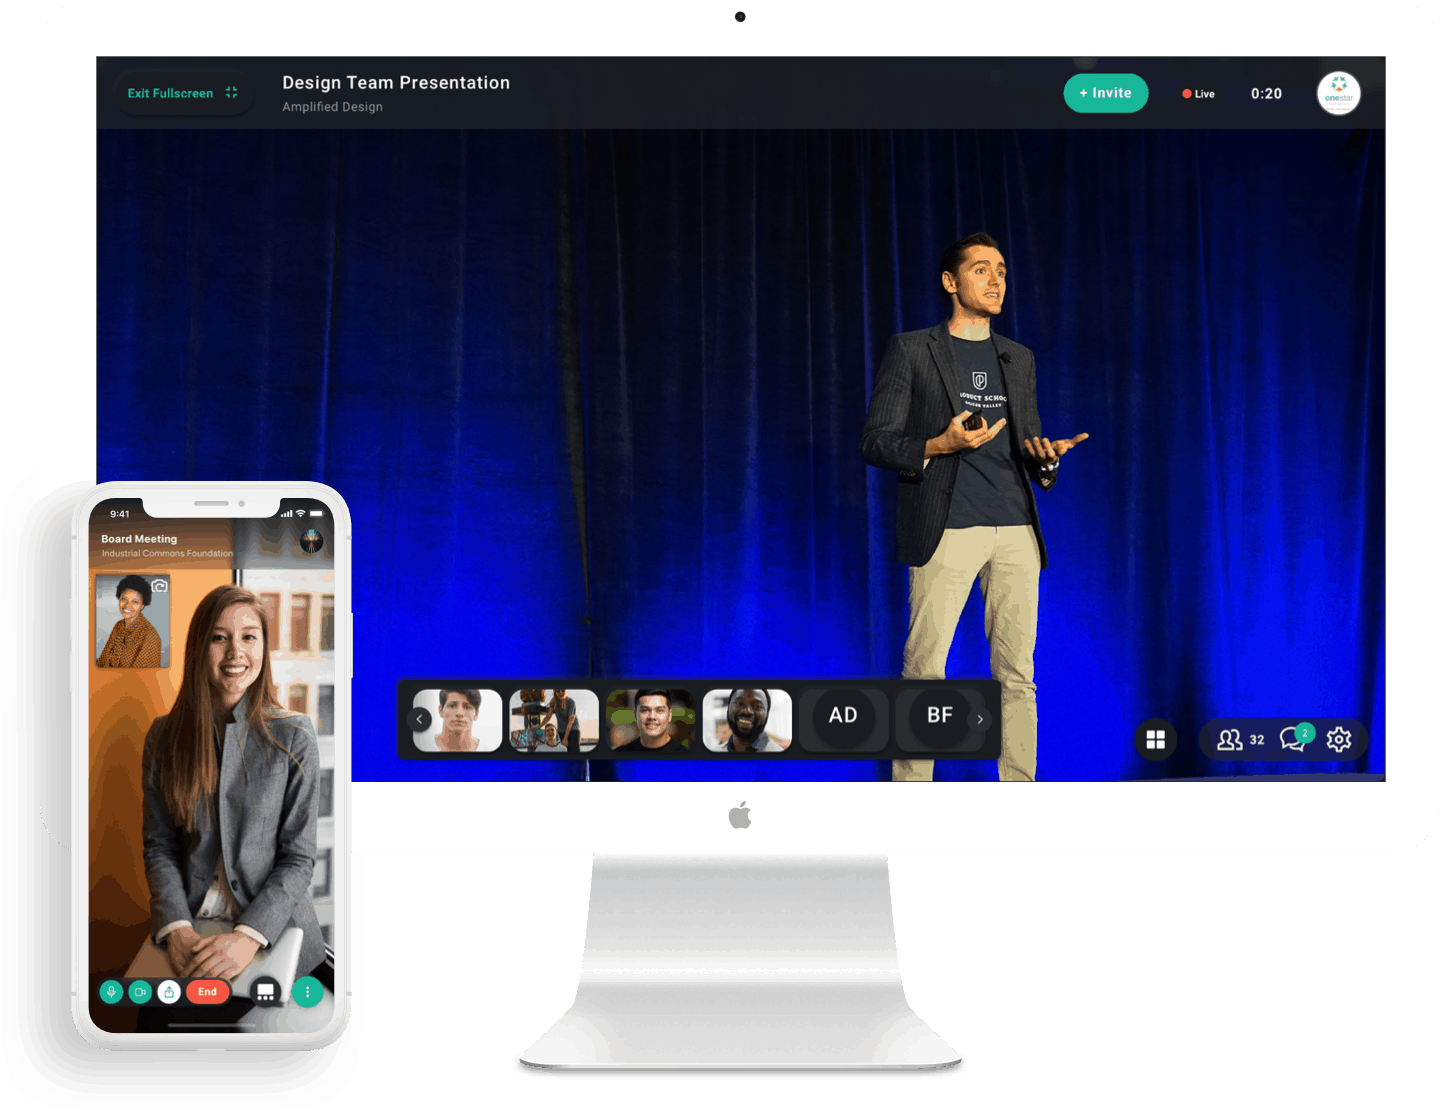
During an Event
Once you are in an event, you can easily change between two different views. Simply click the
“Display” icon on the bottom right corner of the screen to switch between “Grid View” and “Full
Screen.”
Tap the three dots icon on the bottom right of your screen to access the Event menu. There are a
number of functions on the menu bar located in the middle of the screen. The first of these
options is “Participants.” Here, you can see who is in the call, and you can add more people. You
can also invite additional people by clicking the “Invite” button on the bottom left hand corner
of the screen.
Tap the 3 dots icon on the bottom right of your screen to access the Event menu.
Then click the middle “Chat” tab. From here, you can direct message everyone in your group or
message specific individuals.
You can click the drop-down button next to the words “Chat With” to indicate who you would like
to message.
Start writing in the chat box to communicate with other participants in the event.
Tap the three dots icon on the bottom right of your screen to access the Event menu.
Then click the far right “Settings” tab. Scroll down and click “Audio Setting.” Choose between
preferred audio settings in the drop-down menu.
During a live event, a drop-down menu will display at the top of ARC to indicate when attendees
are in the waiting room. Click the drop-down button to view the waiting room.
You may then accept or decline participants by clicking the green or red icons. Touch the “Admit
All” button to allow everyone in your waiting room to attend the event.
To start or stop your own video function during an event, click on the green video icon. Once
clicked, the icon should turn red, indicating that your video stream has been stopped. Toggle
between start and stop as needed during an event.
To mute or unmute your own microphone during an event, click on the green microphone icon.
Clicking the green icon will turn your microphone on and off as needed during an event.